Related
A tropical beauty that blooms in all its glory , the peace treaty lily or Spathiphyllum is an absoluteaddition to every green space . Gardening enthusiasts have always been passionate about this indoor leaf flora that bloom with dazzling lily-white efflorescence . pacification lilies are also one of the best option for breeze - purifying indoor plant and areeasy to keep .
Like most plant , peace of mind lilies demand fear and maintenance . One of the major scene to deliberate whencaring for a ataraxis lilyis timely repotting . Repotting play a life-sustaining role in ensuring that the industrial plant continues to grow sizable through every season .
Keep reading to learn when and how to repot your ataraxis lily . You are just a few measure by from having a happily repotted works !

When to Repot your Peace Lily
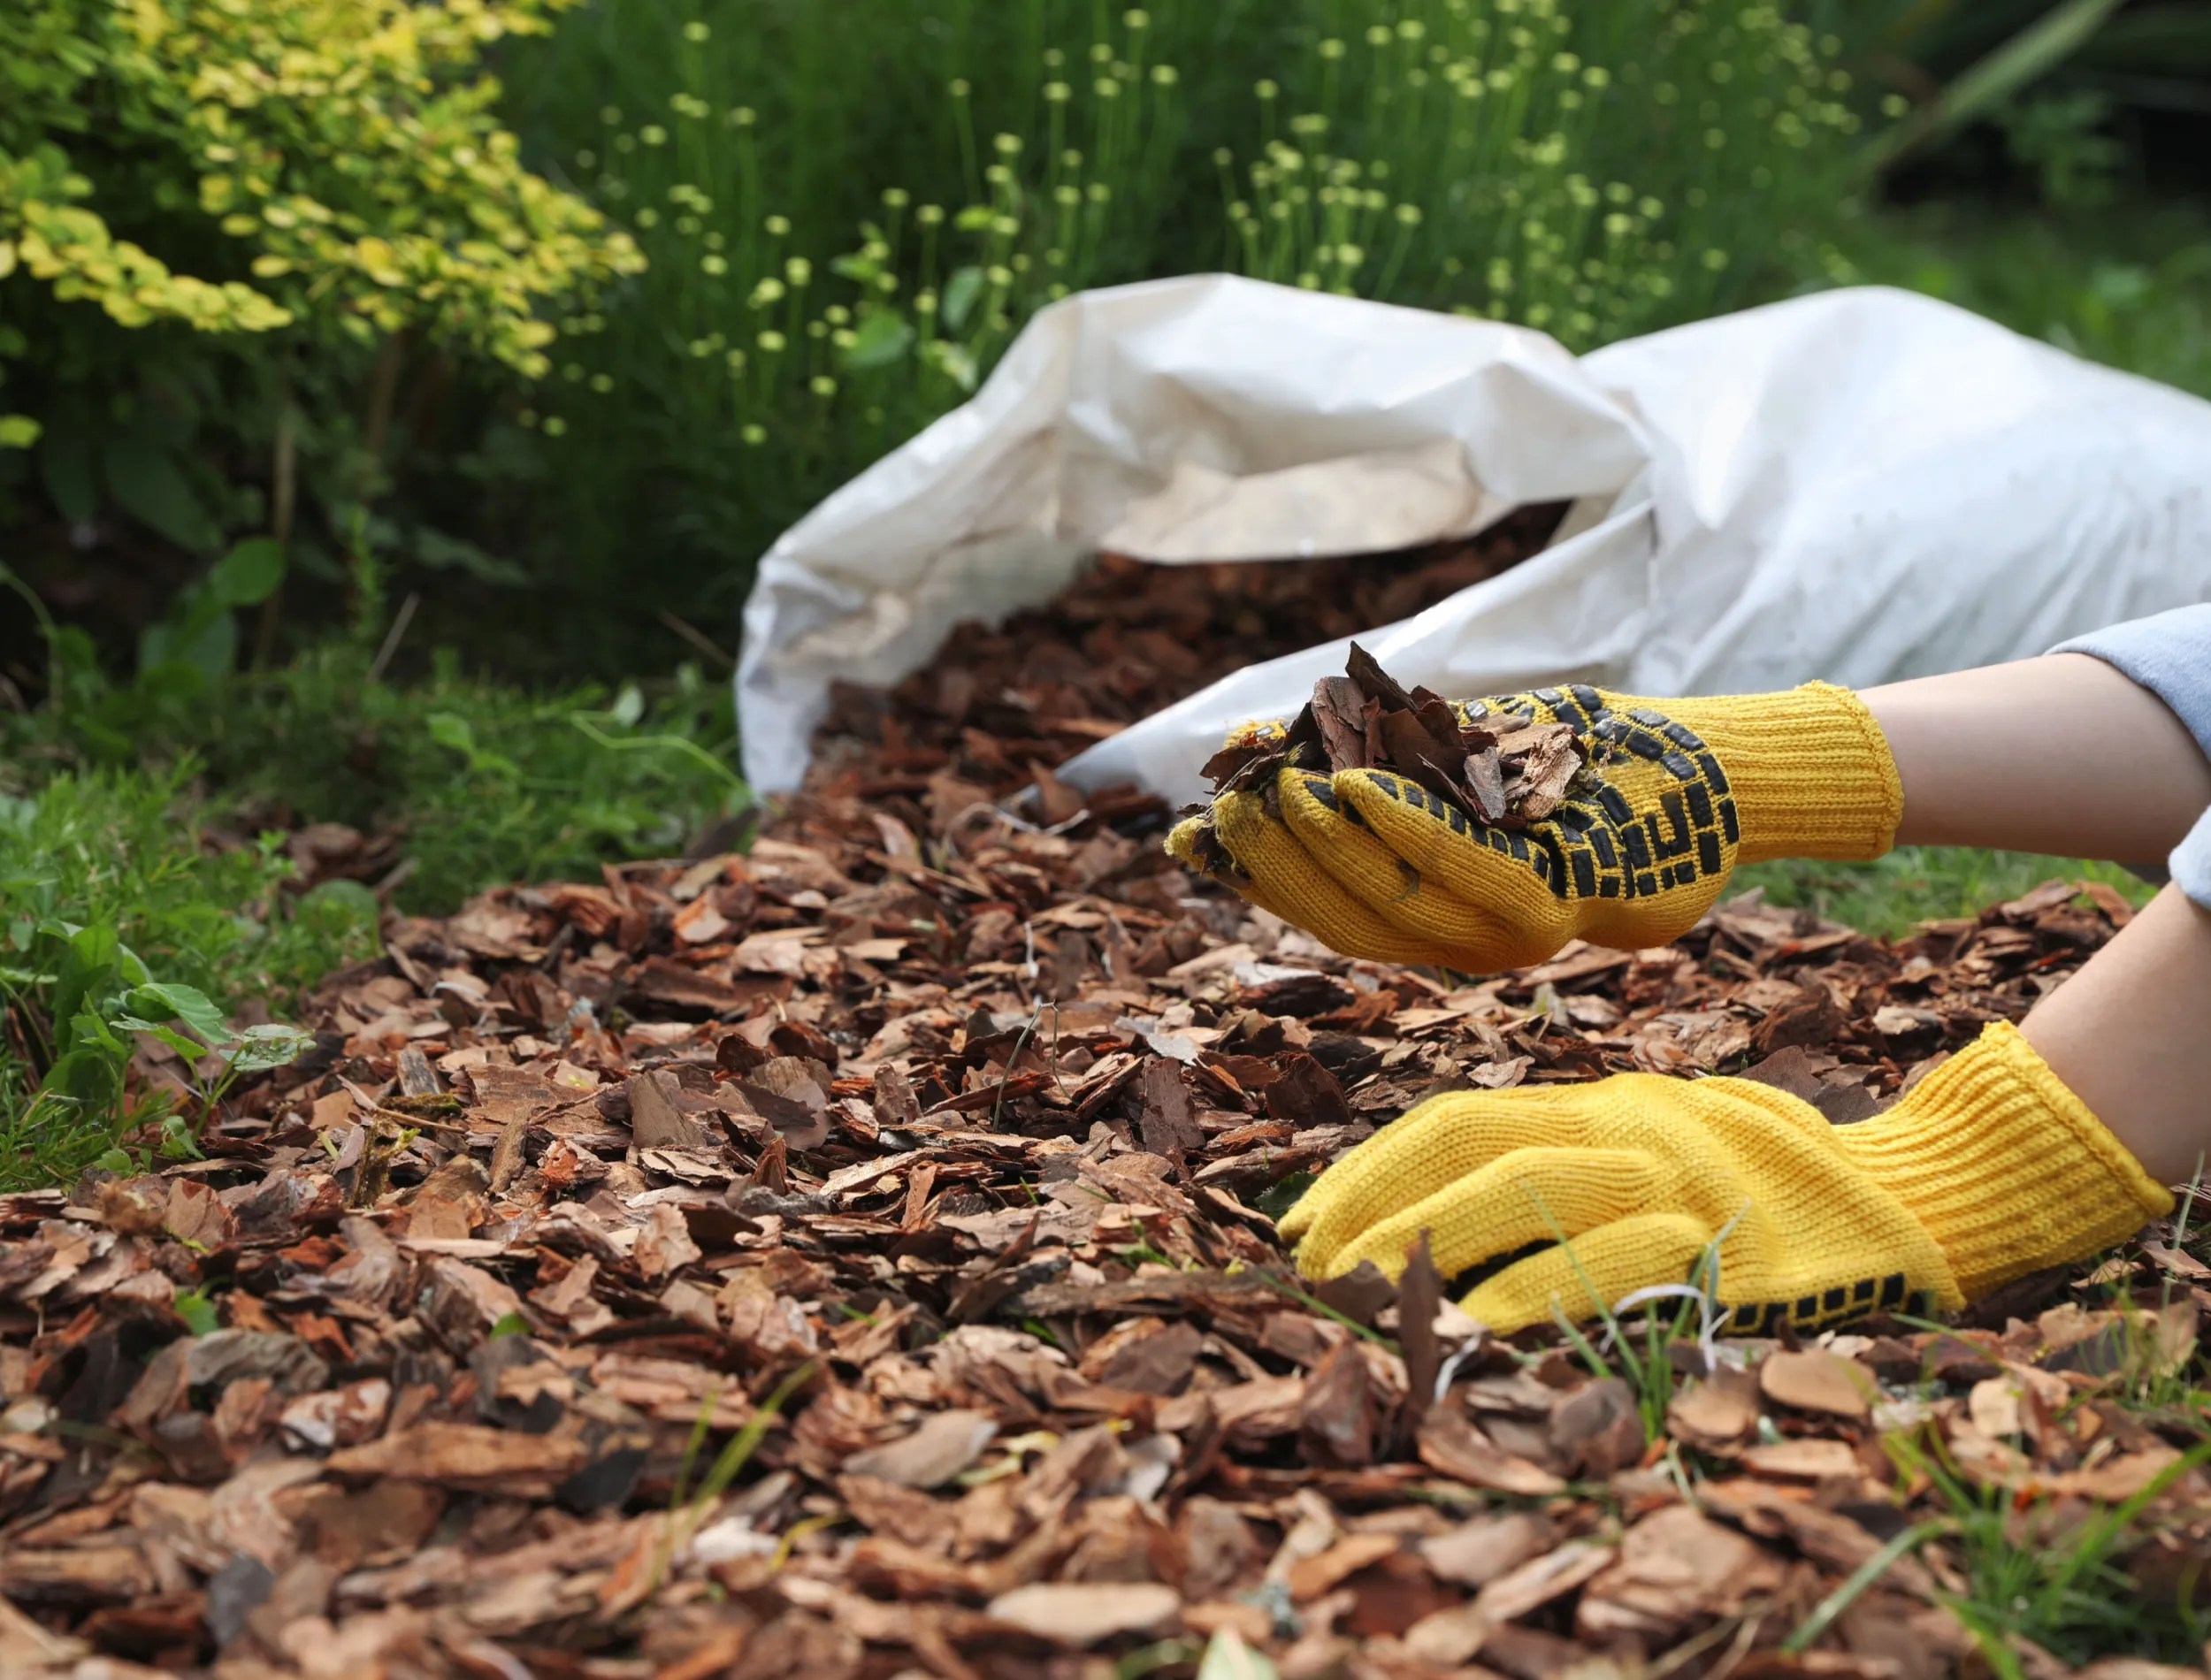
Image credits : Elena Golovchenko via Pexels
Some plant favor a niggling crowding , and the recurrent variety can be difficult to adapt to . It is why gardening connoisseurs recommend repot only when indispensable .
Repot your peace of mind lily when it begins toshow signsthat it is necessary . Otherwise , spring is the good flow to repot your plant . If your peace lily is rootbound , you must immediately put up it a Modern home . When rootbound , the ancestor start to turn through the drain holes of the peck . They may also produce upwards to emerge on the surface of the ground .
A rootbound plant can not effectively absorb pee . Lack of wet do the ataraxis lily to wilt , coupled with dramatically slow growth . If the experimental condition prevails , the works dies .
Materials Required When Repotting your Peace Lily
Image course credit : Emmanuel Najera via Pexels
Now that you have a go at it if your Peace Lily call for repotting , it is time to get started ! You must collect the follow things for a successful projection .
How to Repot your Peace Lily
Step One: Prepare the Right Soil Mix
Image credit entry : Teona Swift via Pexels
The health of your plant depend on create aunique soil mixturefor it . conflate an organic soil mixture that facilitates good drainage with a pH of between 5.5 and 6.5 , and total a combining of pumice andorganic compostto further enrich your industrial plant ’s home .
It not only enable you to duplicate the precise condition your plant requires , but also tight resemble the nursery grime that the peace lily was develop . It makes transfer much less stressful for the works .

Step Two: Release your Plant from its Pot
Image credits : Tatiana Foxy via Shutterstock
Take your plant life out of its existing stack carefully . If it is growing in a plastic pot , you’re able to pinch the pot ’s border to unfreeze the plant . In lawsuit it sits in a rigid container , slue a knife around the inside of the pot ’s perimeter , as it will be easier to move the plant out .
Step Three: Loosen the Root Ball
simulacrum credit : Jaclyn Vernace via Shutterstock
Once your plant life is out of the container , relax the roots on the bottom and slow act the sides . To slightly tease the rootage , gently turn and separate them . Repotting into a larger pot will help greatly encourage additional root and plant growth .
unsnarled roots are more usable to conform to the new potting mixture . If the roots are highly fuddled , employ a sharp tongue to make vertical cut on the surface of the root ball . Do not choke because your industrial plant will convalesce and arise much healthier after !

Step Four: Pick a Suitable Pot
Image quotation : Karolina Grabowska via Pexels
The simple rule of quarter round that most gardeners curse by is picking a pot one size up from thecurrent container . For instance , if you have a tidy sum with a 4 - column inch diam , your new one should at least have a 6 - inch diameter . Also , ensure that the pot has enoughdrainage holes .
Step Five: Set and Do Not Forget
Add enough soil to the bottom of the potful and direct the root testis into the mix . Top with more dirt to cross the root while appease about one column inch below the flange of the mint .
slenderly firm the soil by pressing it down with your fingers . It is now time towater your peace treaty lily . Let the body of water completely enfeeble before direct the pot back onto its drip saucer .
To Conclude


